Building a Budget-Friendly Gaming PC: Components and Compatibility
Learn how to build a budget-friendly gaming PC by picking smart-value parts and ensuring compatibility across CPU, GPU, RAM, storage, and power.
Define Your Budget and Performance Goals
Building a budget-friendly gaming PC starts with a clear plan that aligns cost with performance targets. Decide the resolution and settings you aim for, then distribute funds accordingly: the GPU usually claims the largest share, the CPU follows, and the remainder covers motherboard, memory, storage, power supply, case, and cooling. Focus on price-to-performance, not just the cheapest sticker, and consider the upgrade path so you can extend longevity without replacing everything later. Establish a comfortable ceiling that includes taxes, shipping, and small tools like a screwdriver or extra thermal paste. Create a shortlist of components and a contingency option for each, since availability and sales can shift your choices. Avoid common traps like overbuying RGB or paying extra for features you will not use, such as excessive connectivity on a tight budget. A thoughtful plan narrows the field, helps prevent mismatched parts, and ensures your money goes where it delivers the most tangible gaming fps gains.
Choosing CPU and GPU for Balanced Performance
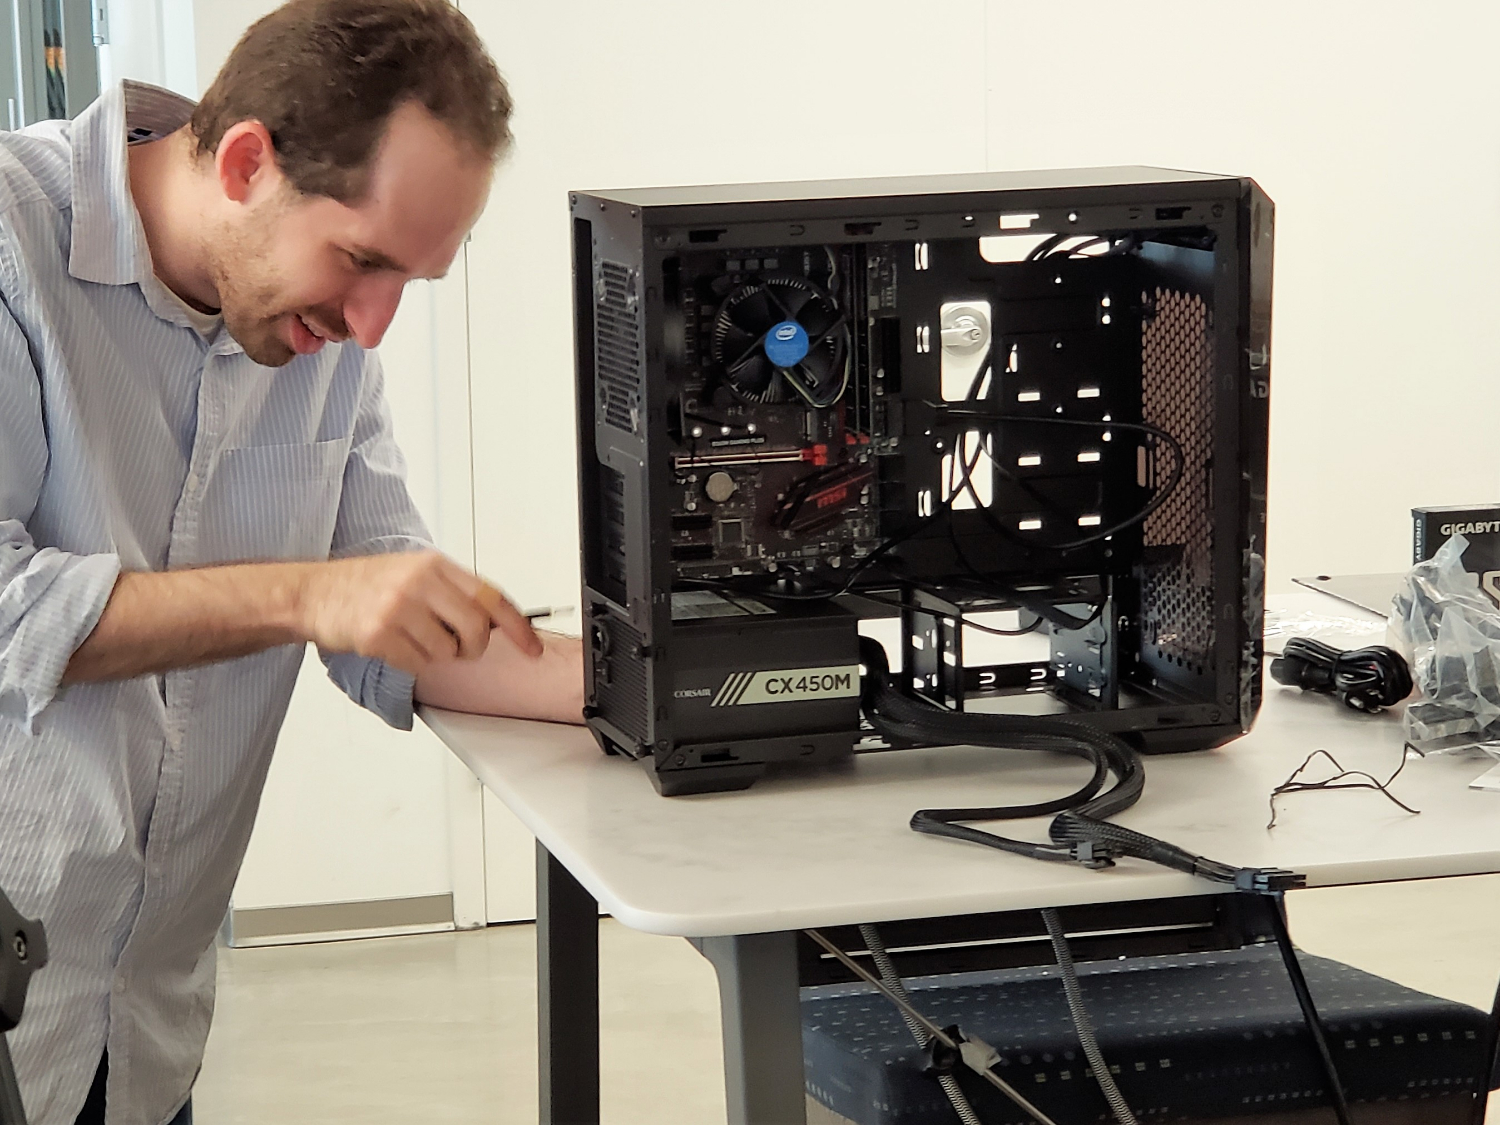
A smooth gaming experience depends on the CPU–GPU balance. The CPU handles game logic, background tasks, and system overhead, while the graphics card drives frame rendering. For tight budgets, prioritize the GPU for higher frame rates at your target resolution, but avoid pairing a very weak CPU that can cause a bottleneck in demanding titles. Look for CPUs with solid single-core speed and enough cores/threads to keep modern engines and multitasking responsive. Confirm socket compatibility with your motherboard and be mindful of TDP and cooler requirements. On the GPU side, weigh VRAM capacity, power draw, and cooler design; a modest, efficient card can outperform a louder, hotter alternative in compact cases. Ensure your case and PSU support the GPU's length and power connectors. Finally, consider PCIe compatibility; while generations are backward compatible, lane bandwidth can matter in edge cases. Aim for a harmonious pair that delivers consistent performance without overspending on either side.
Motherboard, Memory, and Storage Essentials
Your motherboard sets the stage for compatibility and future upgrades. Choose the right form factor (ATX, micro-ATX, or mini-ITX) based on case size and expansion needs, and pick a chipset that supports your CPU features, desired PCIe version, and overclocking options if relevant. Look for adequate VRM quality, enough fan headers, and convenient rear I/O without paying for extras you won't use. For RAM, aim for dual-channel with sensible capacity for gaming; speed and latency can influence minimums and 1% lows, but don't overspend for marginal gains. Check your board's QVL for tested memory kits to reduce compatibility headaches. For storage, a NVMe SSD as the primary drive yields faster boot times and level loads, while a secondary SATA SSD or HDD can house larger libraries. Verify M.2 slot placement and heatsinks to prevent thermal throttling. Planning these core parts carefully ensures a stable foundation that maximizes your budget's real-world benefits.
Power Supply, Case, and Cooling on a Budget
A reliable power supply unit (PSU) protects your investment. Choose adequate wattage headroom to handle spikes and future upgrades, and look for an 80 Plus efficiency rating to reduce heat and noise. Confirm the necessary PCIe power connectors for your GPU and consider semi-modular or modular cabling to simplify builds in compact cases. The case affects thermals, noise, and ease of assembly; prioritize good airflow with unobstructed front intakes, space for multiple 120 mm or 140 mm fans, and filters that are easy to clean. Cable management channels and enough clearance for GPU length and CPU cooler height are crucial. Cooling doesn't have to be expensive: a decent tower air cooler or a well-placed set of case fans can outperform flashy alternatives in real-world use. Apply thermal paste properly, maintain balanced intake and exhaust, and set smart fan curves to keep temperatures and acoustics in check without inflating the budget.
Compatibility Checks and Assembly Tips
Before buying, run a thorough compatibility checklist. Confirm CPU socket and motherboard support, BIOS version requirements, RAM type and clearance under the cooler, GPU length, PSU wattage and connectors, and storage slot availability for M.2 drives. Use board manuals to place standoffs correctly and avoid shorting. During assembly, seat RAM in the recommended dual-channel slots, route cables early for a cleaner build, and connect front-panel headers carefully. After first boot, update the BIOS/UEFI, enable XMP/EXPO for memory speed, install chipset and GPU drivers, and create sensible fan profiles. Validate stability with brief stress tests, monitor temperatures, and adjust airflow or undervolt the GPU if heat or noise is excessive. Keep receipts and boxes for warranties, and document your configuration for future upgrades. With methodical checks and tidy assembly practices, you'll achieve a dependable, efficient system that excels at gaming without straining your consumer electronics budget.